ICE Text
Step 1
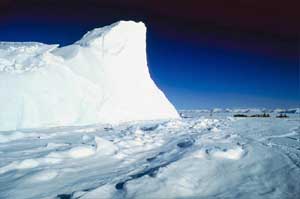
Open Photoshop; then open any image to create ice text.
Step 2
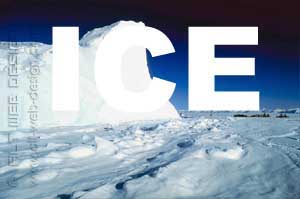
Create the text you like using Type tool (Arial Black; 120 pt; white text color).
Step 3
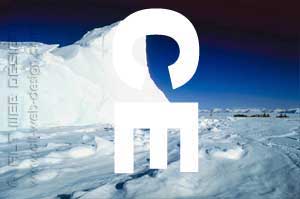
Rasterize layer (Layer -> Rasterize -> Type).
Go to Edit -> Transfortm -> Roatate 90o CCW.
Go to Edit -> Transfortm -> Roatate 90o CCW.
Step 4
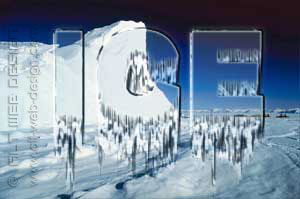
To make icicles, go to Filter -> Stylize -> Wind and use these settings:
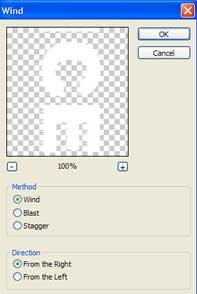
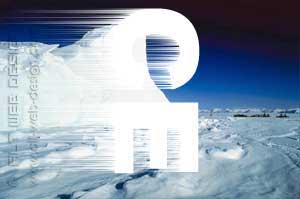
Repeat the filter by pressing Ctrl+F. Do this two times.
Step 5
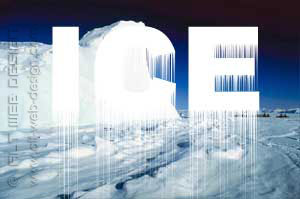
Rotate the canvas back to normal with Edit -> Transfortm -> Roatate 90o CW.
Step 6
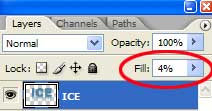
Select the content of the layer and Fill with light blue colour like #4E84A0. In Layers palette, set the Fill of the layer to 4%.
Step 7
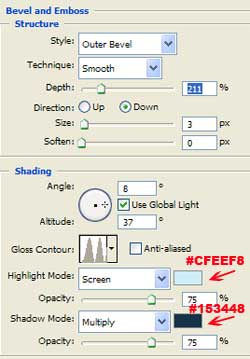
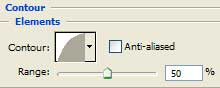
Add a layer style:Bevel and Emboss

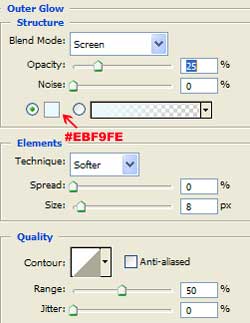
Outer Glow
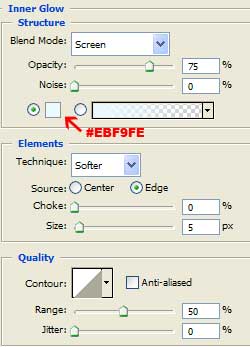
Inner Glow
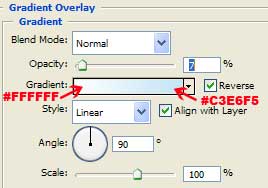
Gradient Overlay
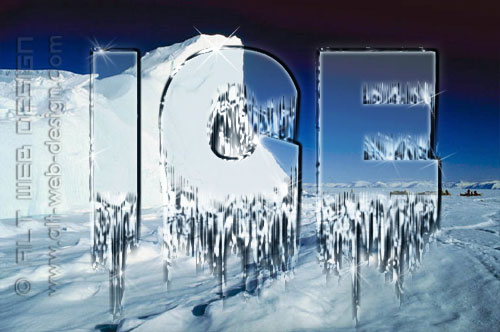
And you’re done with your Ice Text!
Additionaly, you can duplicate this layer two more times and/or add a few sparkles.
I’m not really sure how you have the light blue fill the letters with the description that you have left.
Set your foreground color to light blue, for instance #4E84A0.
Select the content of your layer by holding down Ctrl (Win) / Command (Mac) and clicking anywhere on the layer in the Layers palette.
Go to Edit -> Fill -> Use: Foreground Color -> OK.
Deselect.
In Layers palette, set the Fill of the layer to 4% (see picture for Step 6).
nn che scritto un kazzo
Ciekawy post, dodalem twoj blog do ulubionych, bede tu teraz wpadal czesciej, pozdrawiam
This looks good but I don’t think I’ll try it.
Very good tutorial
Thank you. You have no ideea how much this helped me..
how do you add the sparkles? mine looks dull
I use sparkles brushes. You can download them for free here: http://www.obsidiandawn.com/glitter-photoshop-gimp-brushes
good work guys
hey…
i was just wondering how you got it transparent like that… i could not get it like that…
great post.Thanks for so many usefull infos.Everything works.Thanks.Wish all the best
Hi,
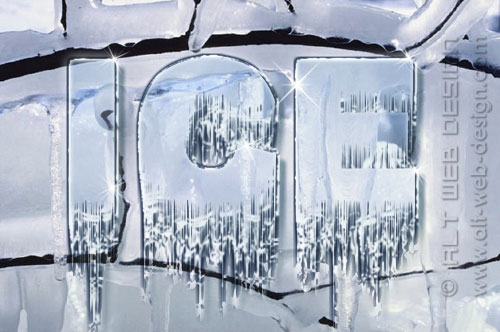
first of all, thanks for the great Tutorial, just one quick question. In this picture: https://alt-web-design.com/text-tutorials/images/ice07a2.jpg
Where can I get this pattern from? I just have the regular 2-3 patterns.
@Help
You can use any silk or satin texture.
Dear tutorial maker:
I love you for making this tutorial, I used a verb for mine though and everything turned out the same, I grabbed the sparkle brushes as well, but they aren’t shiny enough.
Any advice for this dude?
@Mike
Create your sparkle on a separate layer. Than duplicate that layer several times until you get a sparkle that is shiny enough. You can merge these layers in the end.
I used this tutorial for a Photoshop homework assignment, and it was awesome! Thank you. 🙂
While my text looks nicely icy, it isn’t transparent. Instead it’s the color from step 6. Can you tell me what I might have done wrong? (I use Photoshop 6 – yeah, old timer – and I suspect the problem is that I can’t figure out where to set the fill to 4%. I tried under Edit:Fill:opacity, but like I said, the result isn’t transparent.)
@Kristina
The picture at step 6 shows LAYERS PALETTE (to display the palette, choose Window–>Show Layers or just press F7). At the top of the Layers palette is the Opacity option, and directly below that is the Fill option. Set the Fill of the layer to 4%.
I am so happy to see this text effect that i will be use in my presentation.
Very nice one!!! the ts is very good in editing
I’ve gotten to step 6. only white will allow the text to melt away, presetting to blue melts inward. after rasterizing the text I cannot reselect the text to change colors and using your admin instructions on response 2 only fills my entire work surface blue – what’s up – I’m using CS3.
kailangan namin ngaun>>………………………………….
Well I love this a lot but I sincerely wish I knew how to save it. I can save the “style” of it but I wish it would save the icicle effect attached to it. Otherwise I guess I’d have to do this tutorial again. =/